My projects - for Buyers & New Upload/Download Sites & Crowd-placed Content for Publishers

We are happy to share new updates Adsy has currently added. We hope that these novel features will help you work more efficiently.
Let’s begin without further ado.
My projects - buyers
As always, our goal is to ease and optimize the work with your sites (no matter whether you work for your or your client’s site optimization). My projects will help keep track of domains you got links from and see your competitors’ guest posting strategies.
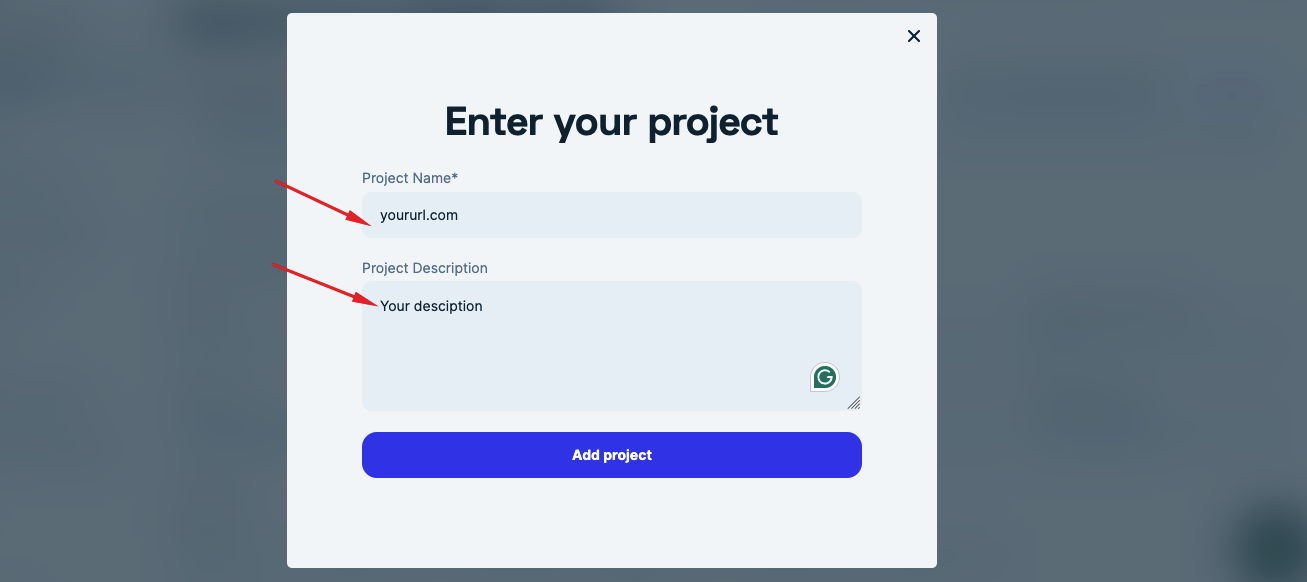
Press the “Add project” sign to get started (it appears in the “Verified sites” menu).

Then, add the name or site’s URL. Describe your project shortly.
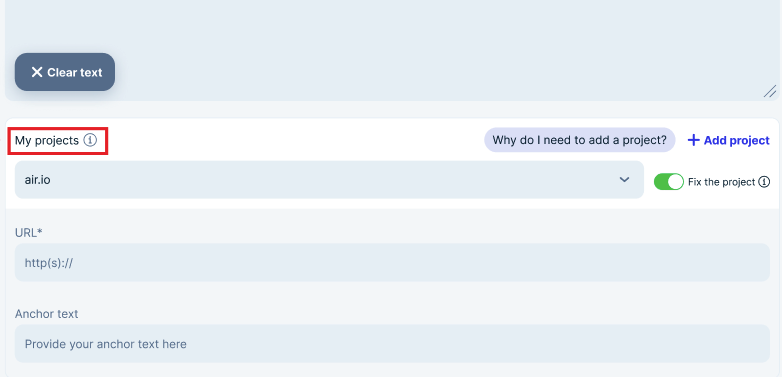
On the next step, click the window under the My projects sign. Let’s imagine that this is your project.
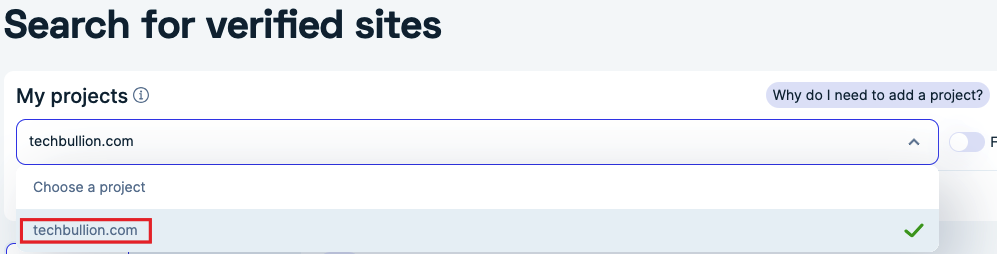
Once you choose it, the Verified site's inventory will update automatically. You will see the inventory with the signature next to each domain, telling you whether you worked with it or not.

Additionally, you can use the sorting filters (Only sites I’ve worked with/Exclude sites I’ve worked with) to sort all the domains even faster.
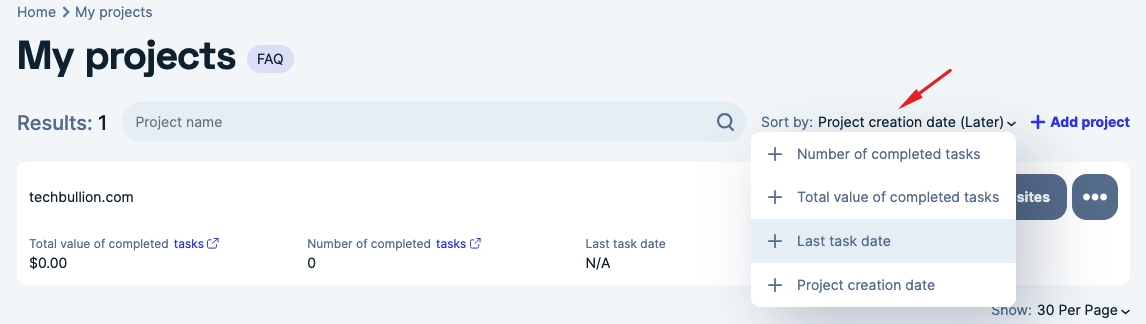
Where do I find My projects?
You can see and manage your projects in the My projects menu.
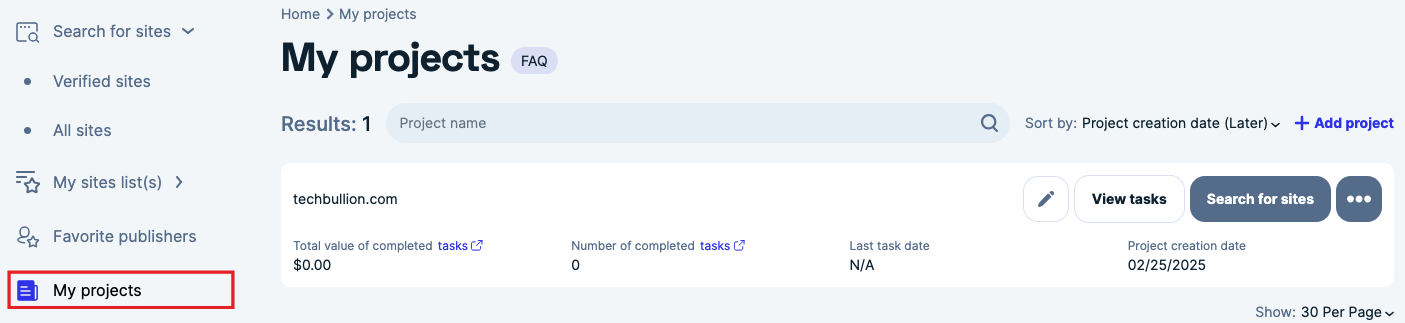
Press the pen button to update or delete your project.
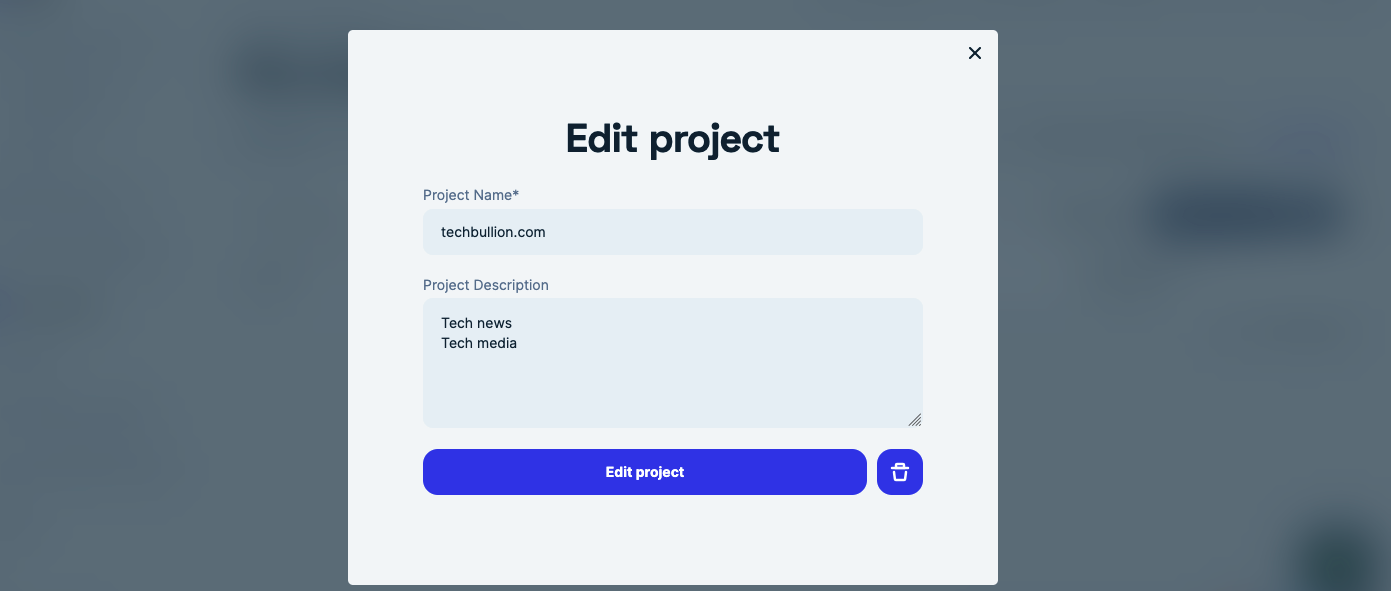
Also, use the sorting filter to arrange the projects in the most appropriate way.
Projects in Tasks
You will see the My projects shield in the Task menu.
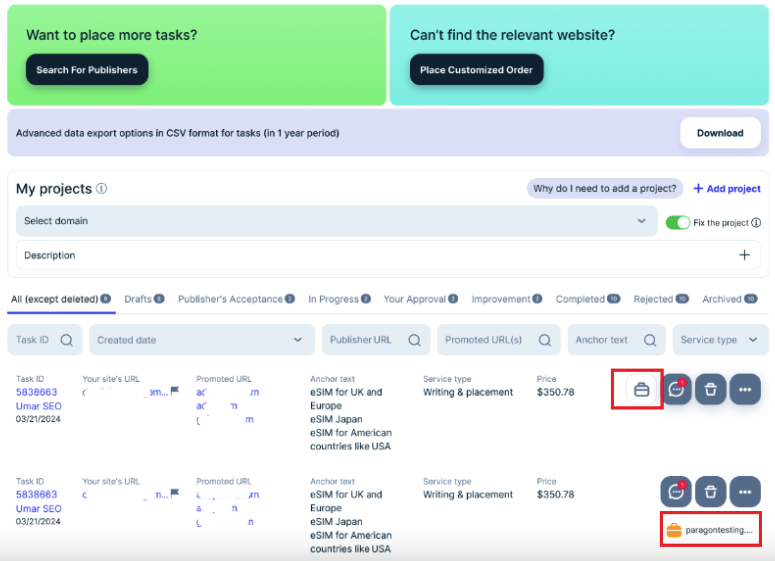
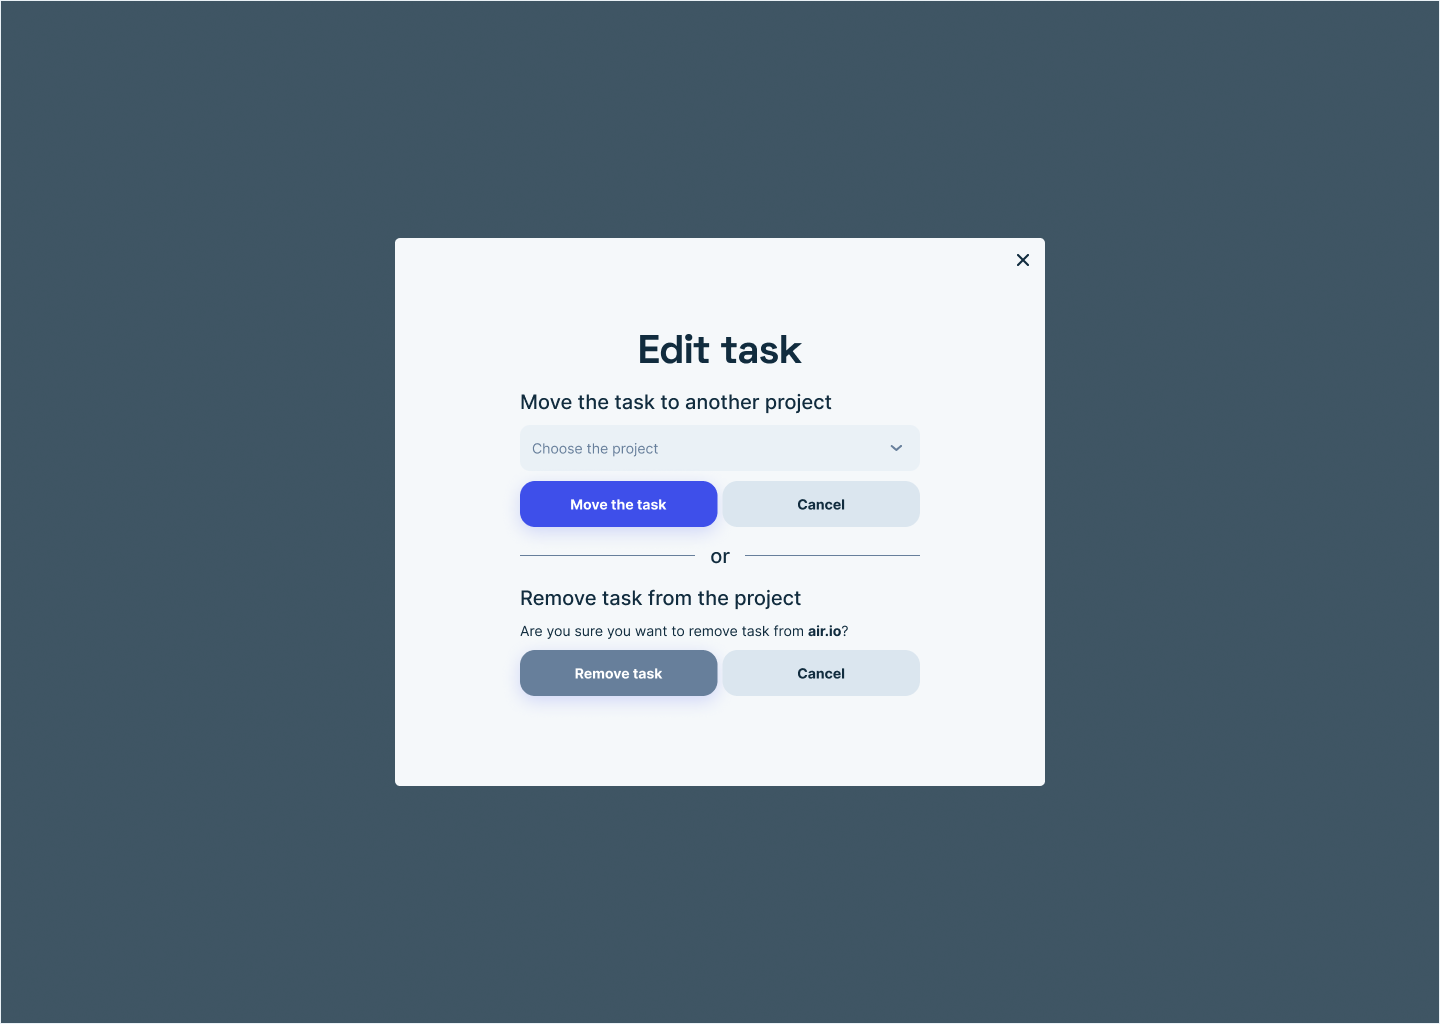
If you see the blank briefcase - that means you can add the task to one of your projects. If you see the filled briefcase, that means the task already belongs to one of the projects. Press the briefcase button to edit the details.
To manage your tasks faster, don’t forget to add them to relevant projects while you are working on the task creation.
Upload via file - publishers
If you wish to upload a file with new sites or renewed sites’ data, go to Upload via file tab.
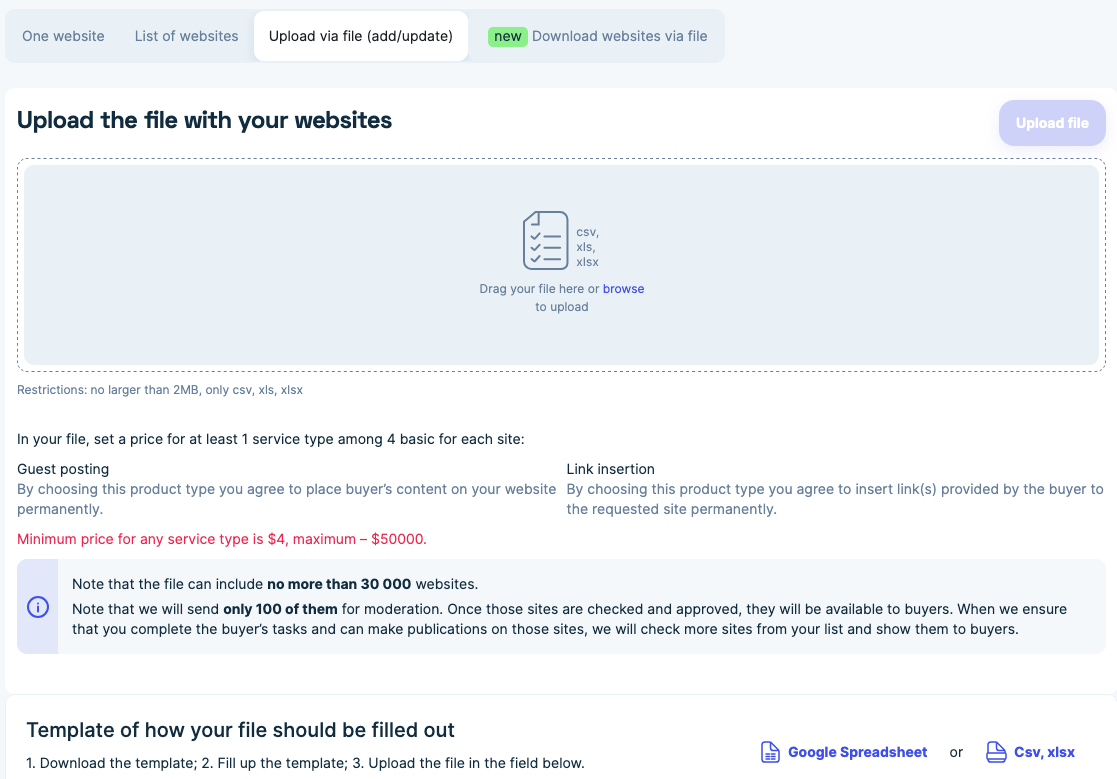
As usual, you have the upload box where you drag and drop files. Please note that the minimum price starts at $4 now.
Use the template to see how you should arrange the data in your files. Please note that the Google Spreadsheet file is an example, we WON’T share the edit access to it.
Download websites via file
Use the second option called the Download websites via file. Employ it to download your existing sites.
All websites
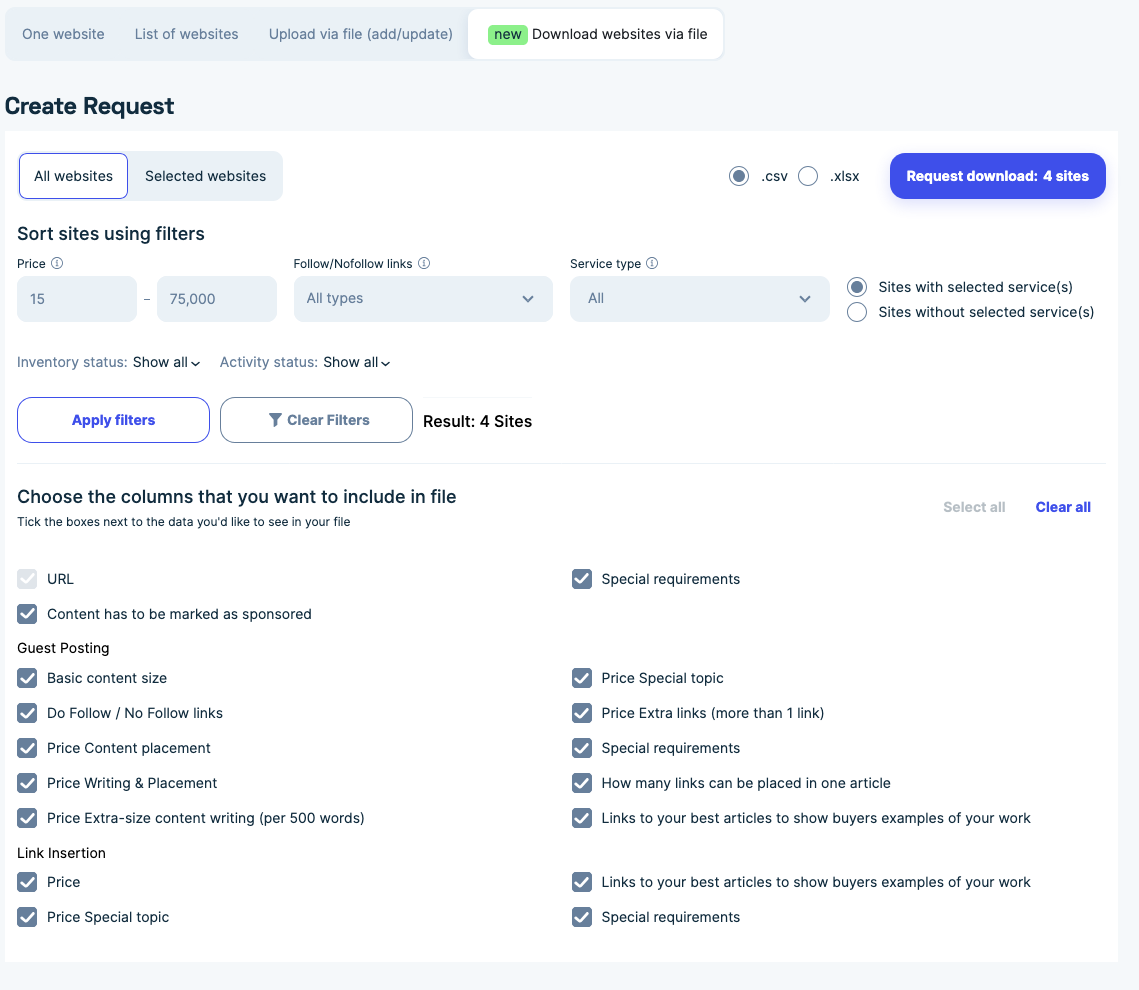
Use the All websites functionality to download your full list of sites. Tick the boxes next to fields you’d like to see in your file. (So that you can easily update all the data)
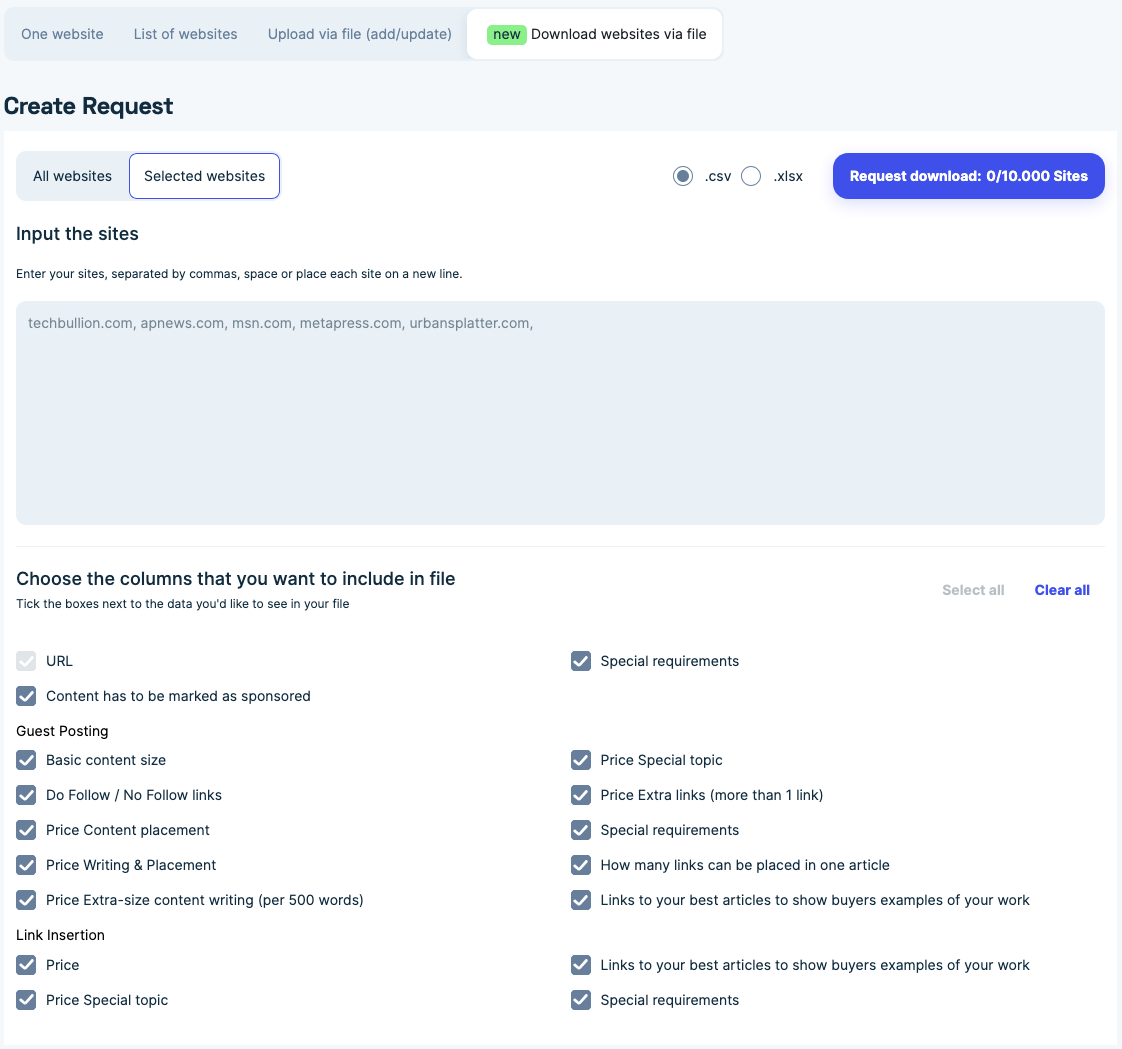
Selected websites
Crowd-placed content
Now, learn about the obligatory content placement type you should pick.
What is crowd-placed content?
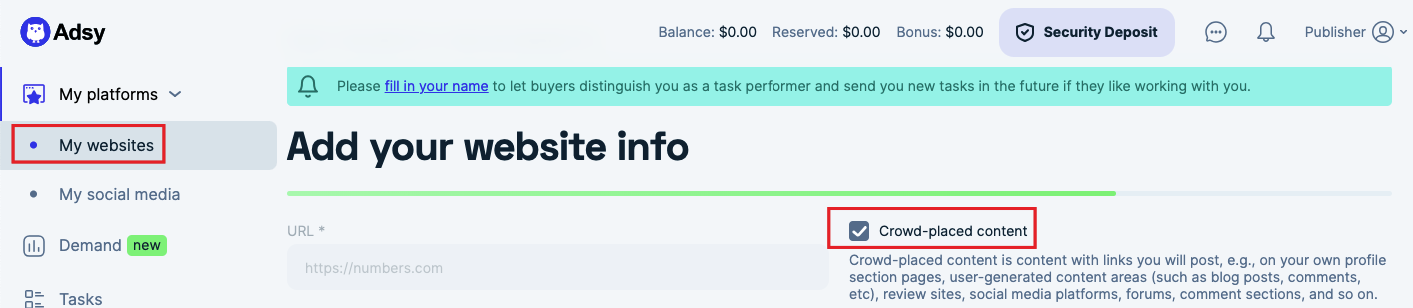
It is content with links you will post, e.g., on your own profile section pages, user-generated content areas (such as blog posts, comments, etc), review sites, social media platforms, forums, comment sections, and so on.
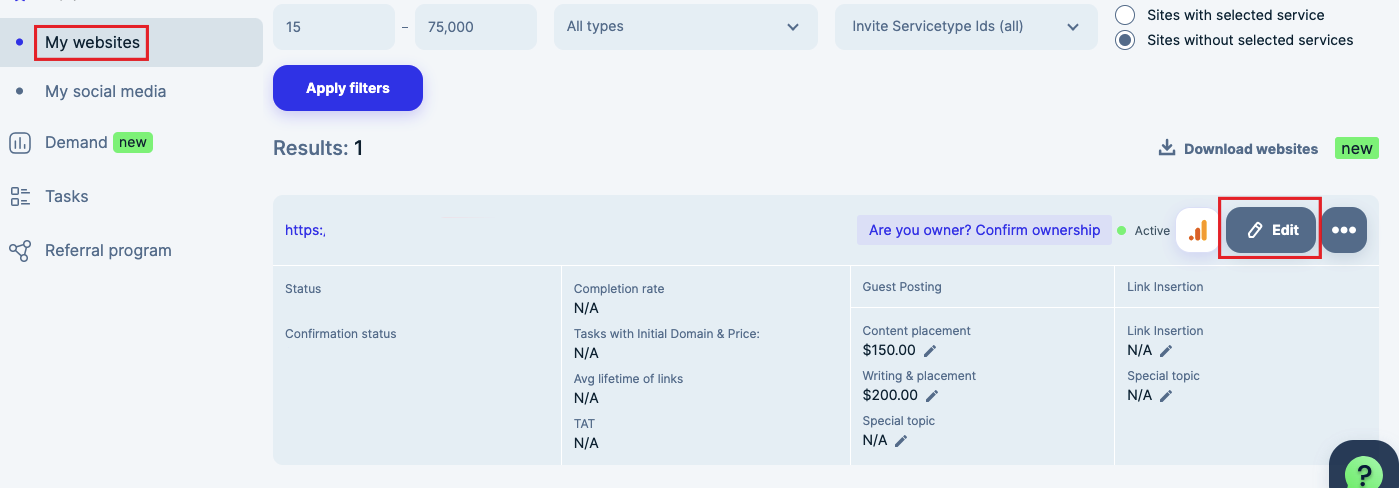
How do you set the “Crowd-placed content” placement type?
If you have a few sites, you can do this manually. Go to “My websites,” press the “Edit” button, and put the tick in the box next to the “Crowd-placed content” sign.
2. If you have many sites with such placement type, use our renewed “Upload/download sites” functionality.
With it, you can download all your sites or selected ones with the needed columns, renew the information of the sites, and upload the novel file back to the inventory.
Go to My platforms - Add/update via file - Download websites via file.
Use the updated template in the Upload websites tab to arrange your columns accordingly.
Please note that the rule regarding the Crowd-placed content is now fixed in our Terms & Conditions.