
Press Release: A New Way to Expand Your Services and Reach More Orders

We’re excited to introduce a new product called Press Release! It is a great opportunity to add a new product to your range and get more orders.
In this article, we’ll explain what a press release is, how it works, and how you can start using it on Adsy in a few simple steps.
What is a press release?
A press release is a short, official announcement that a company or organization sends to websites, online magazines, or blogs in order to share something newsworthy. The main goal is to make it easy for journalists and editors to find the news and share it with their audience.
For example, a press release might be used to announce:
- the launch of a new product,
- an event or webinar,
- a partnership with another company,
- a milestone or an award your business reached.
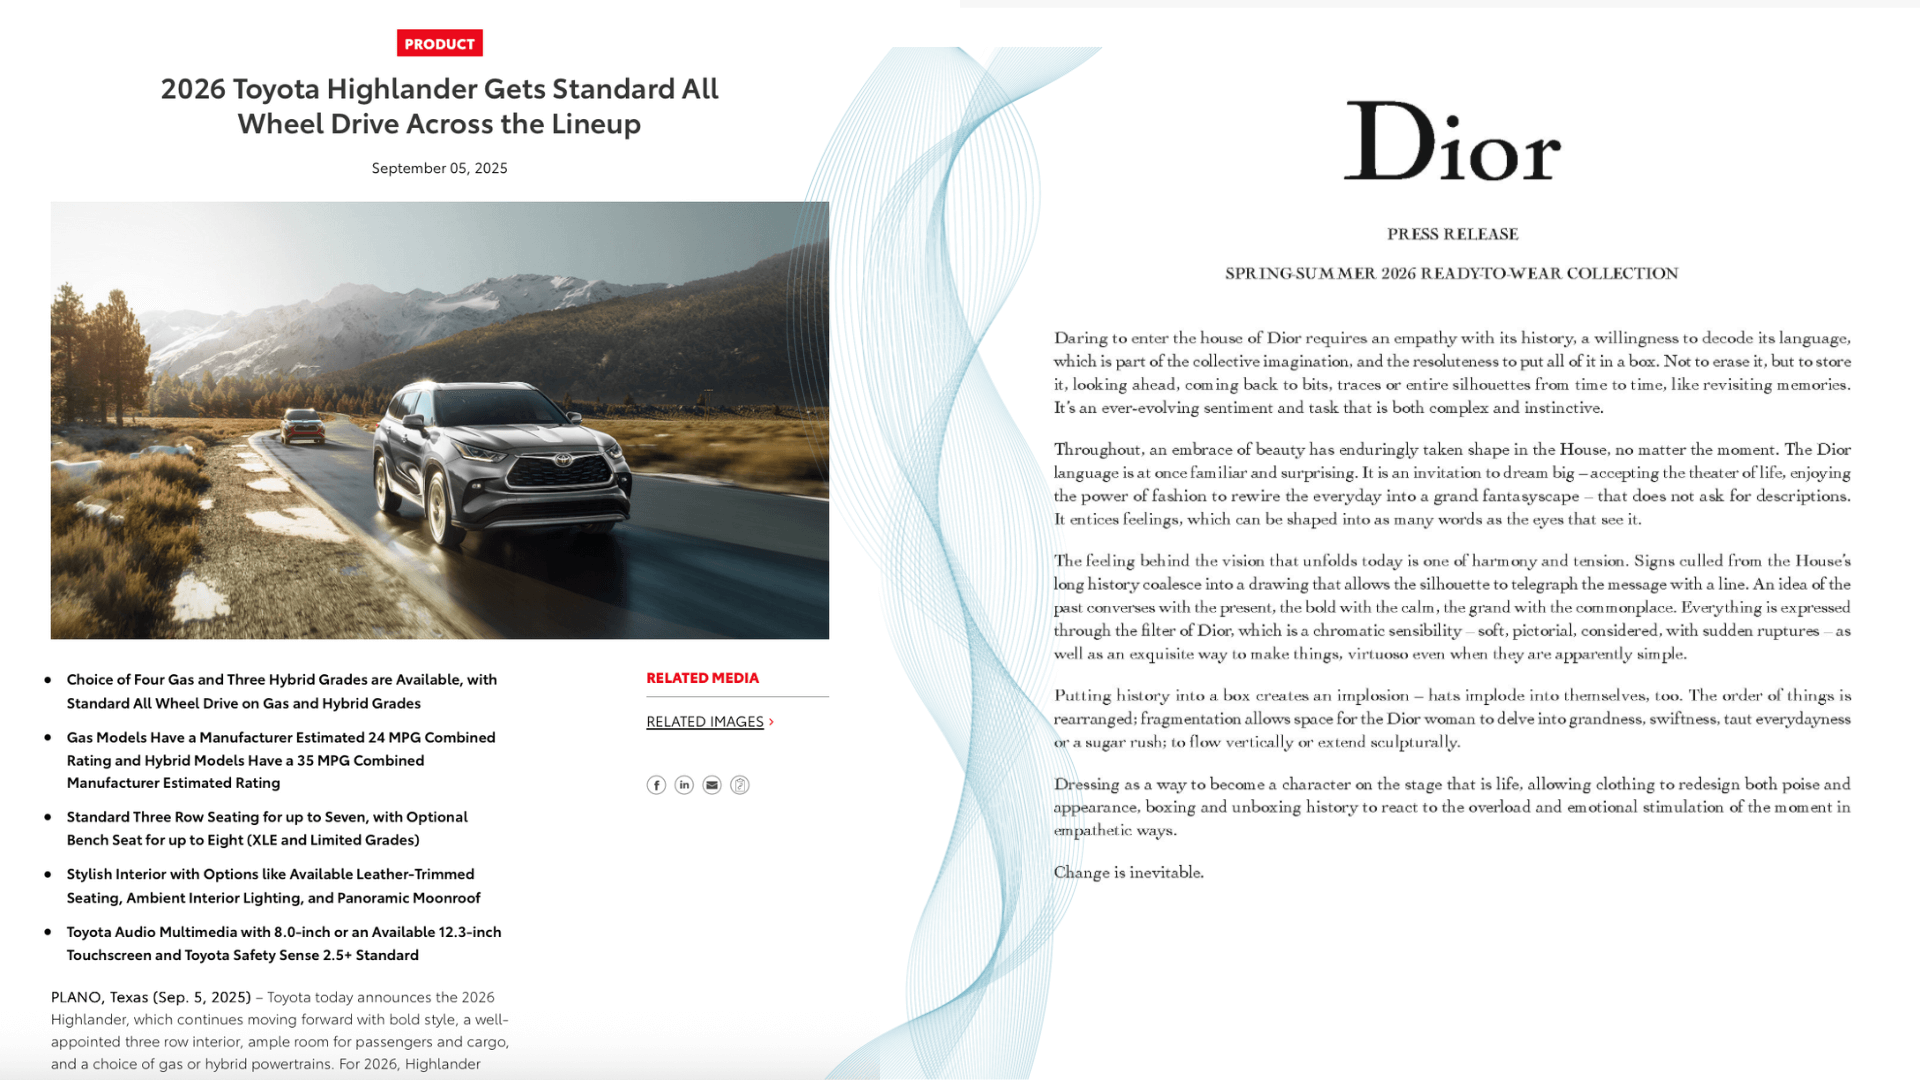
Real brand examples
Press releases are typically written in a clear, concise format. So that editors can quickly understand what’s happening and why it matters.
Here's a fresh 2026 example of well-known brands. You can also publish similar press releases on your sites!
How to add a Press Release to your products
Adding a Press Release to your products is simple. But the process depends on whether you’re updating a few sites, many sites, or adding a new site with this option. Here’s a detailed guide for each of them.
1. Adding to a few sites
If you only want to make the Press Release available on one or a few sites, this is the easiest way.
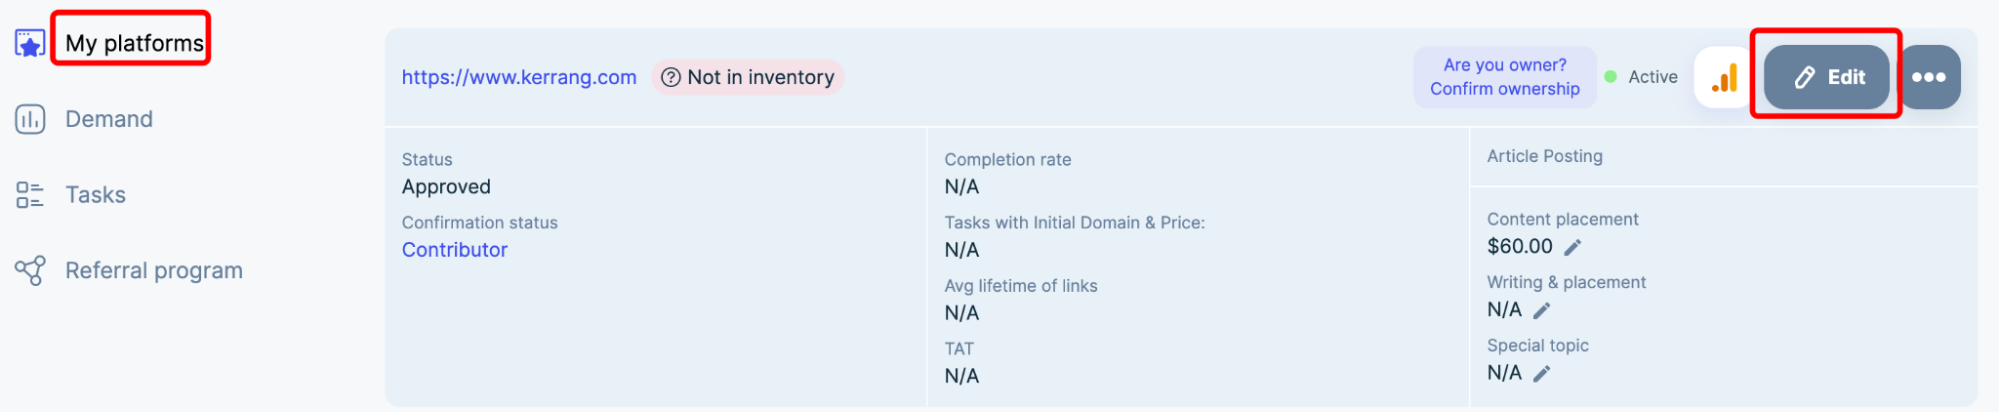
Step 1: Go to My Platforms
Start by opening the list of your platforms. This is where all your websites are listed.

Step 2: Click “Edit”
Find the site you want to update and click the Edit button. This will take you to the site settings, where you can manage products.
Step 3: Open the Press Release tab
Scroll down to the Products section. Click on the Press Release tab to open the product settings for this site.

Step 4: Fill in the details
Enter the necessary information: content size, links, main services, and any other fields required.
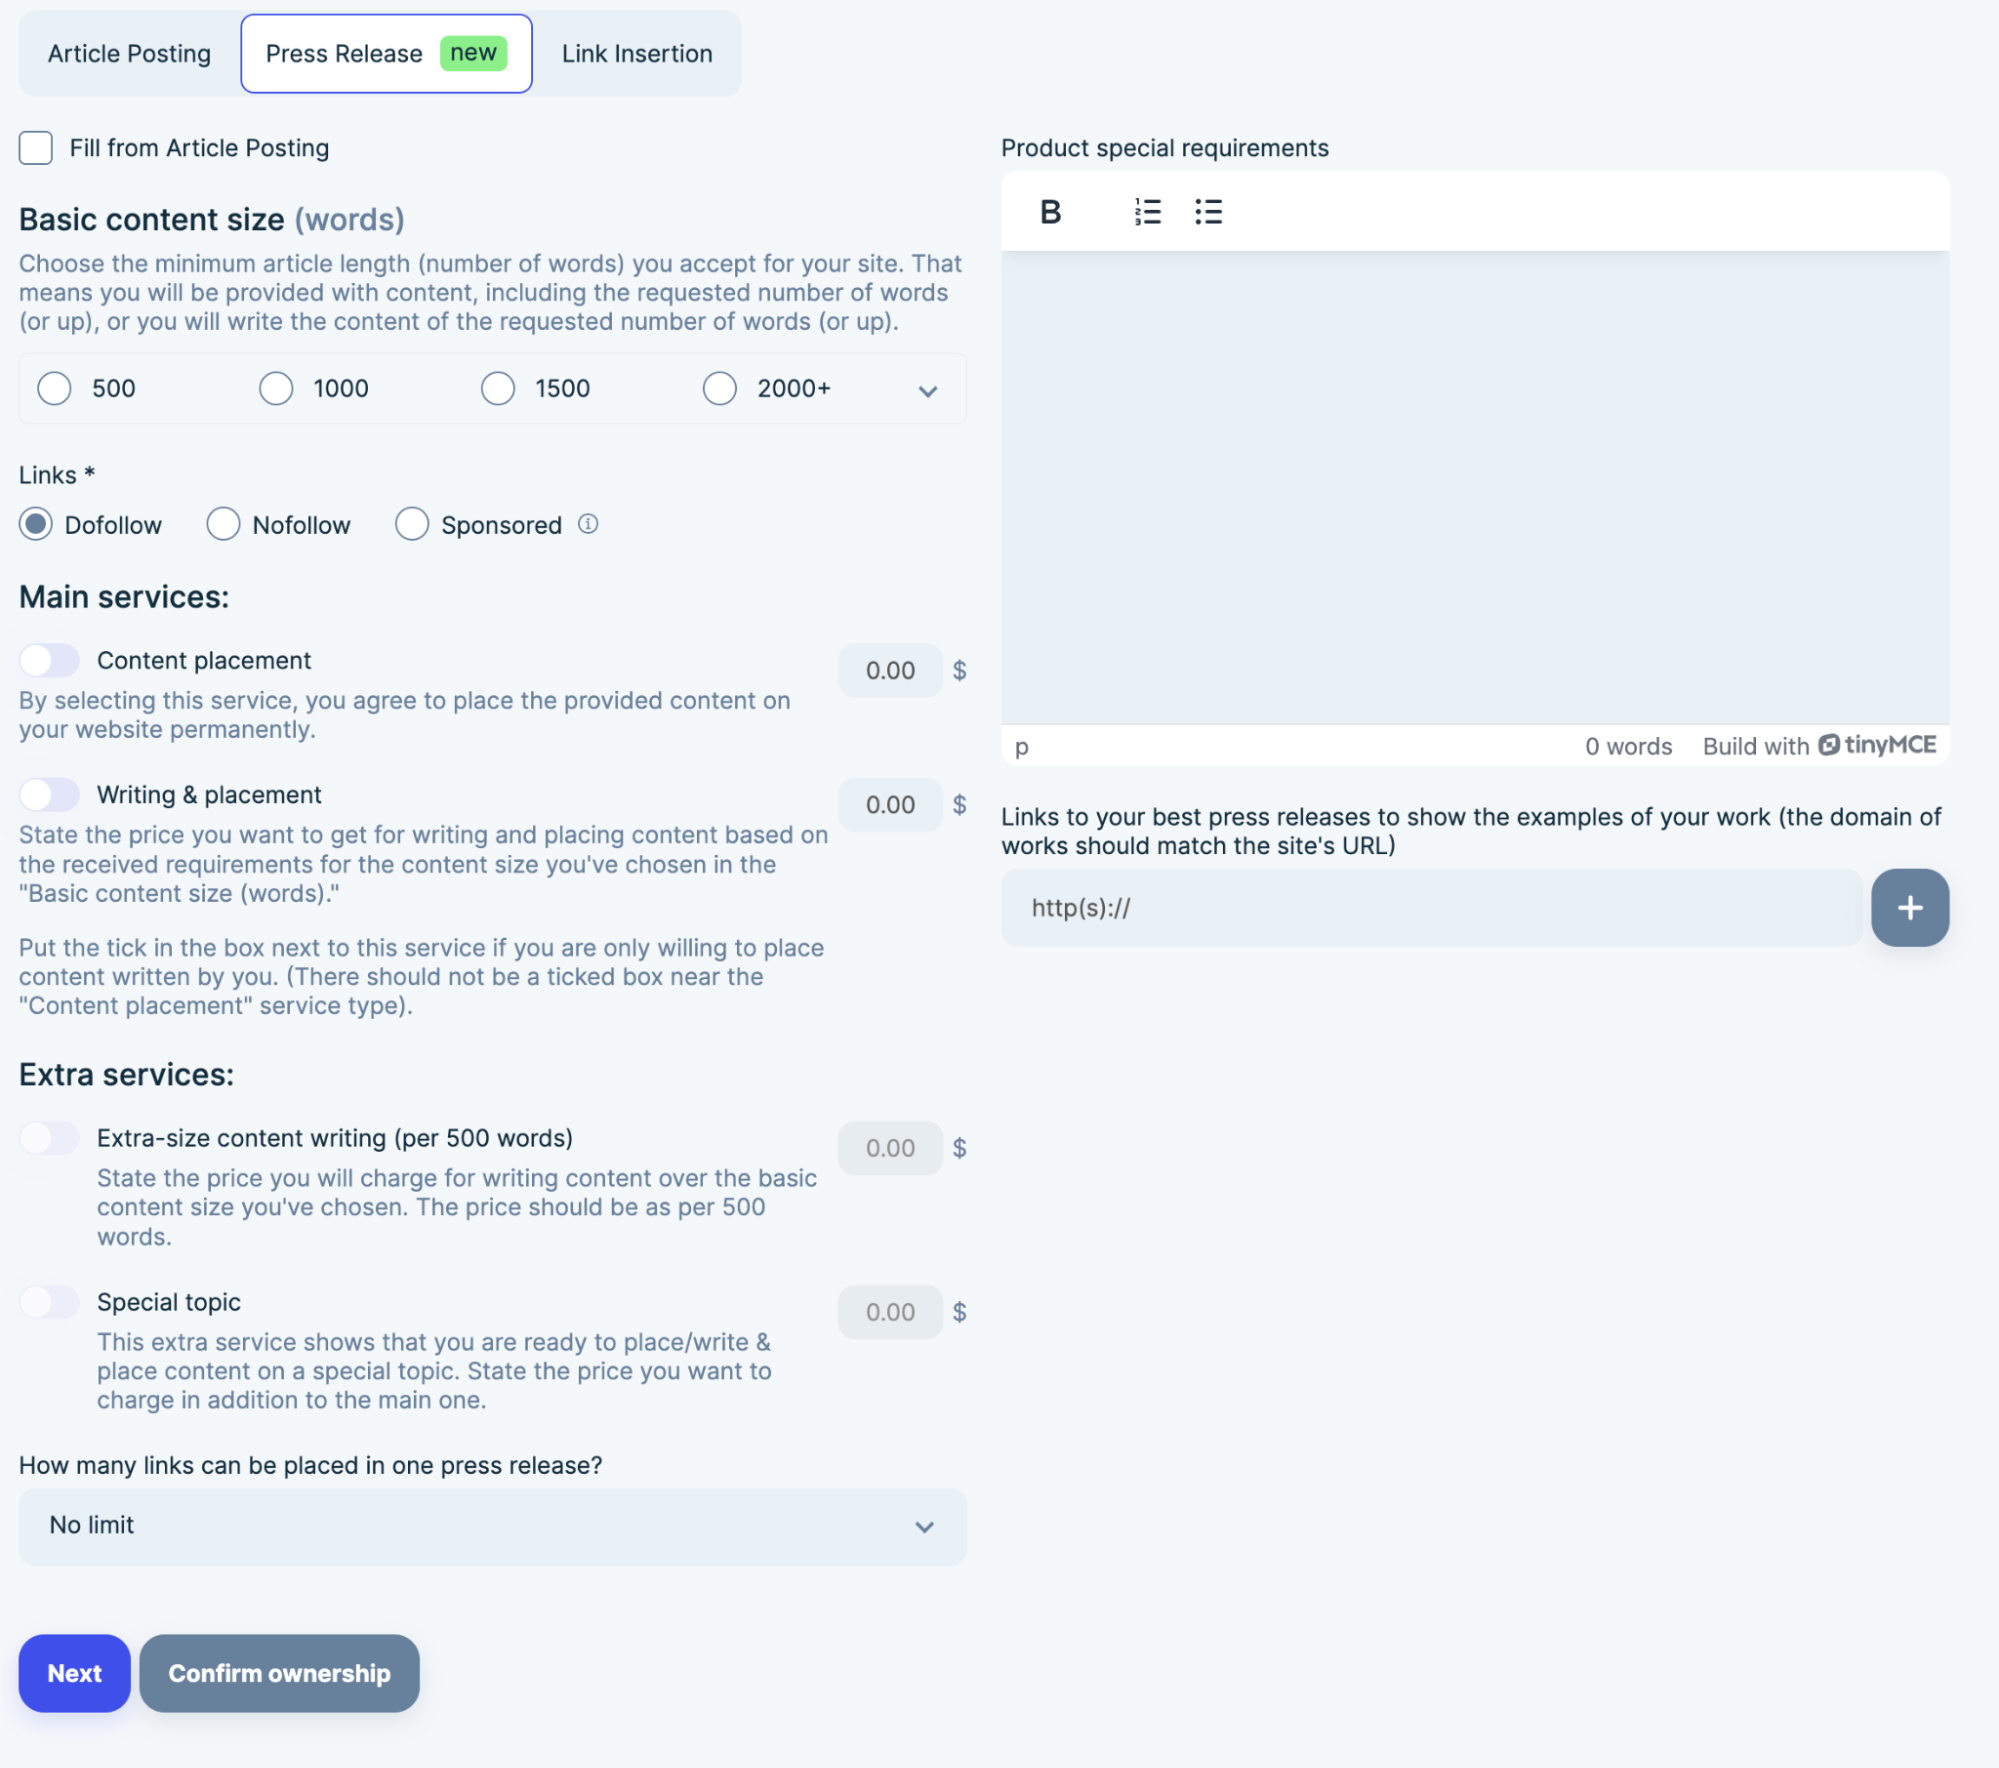
Pro tip: If the Press Release product has the same details as an existing Article Posting, tick the “Fill from Article Posting” box. This automatically fills in the info, saving time and reducing errors.

Step 5: Save your changes
Once everything is complete, click Save to make the Press Release available on this site.
2. Adding to many existing sites
When you need to add the Press Release to multiple sites at once, it’s faster to use the Upload via File option.
Step 1: Go to Upload via File
Use the Add or Update Websites – Upload via file (add/update) option.
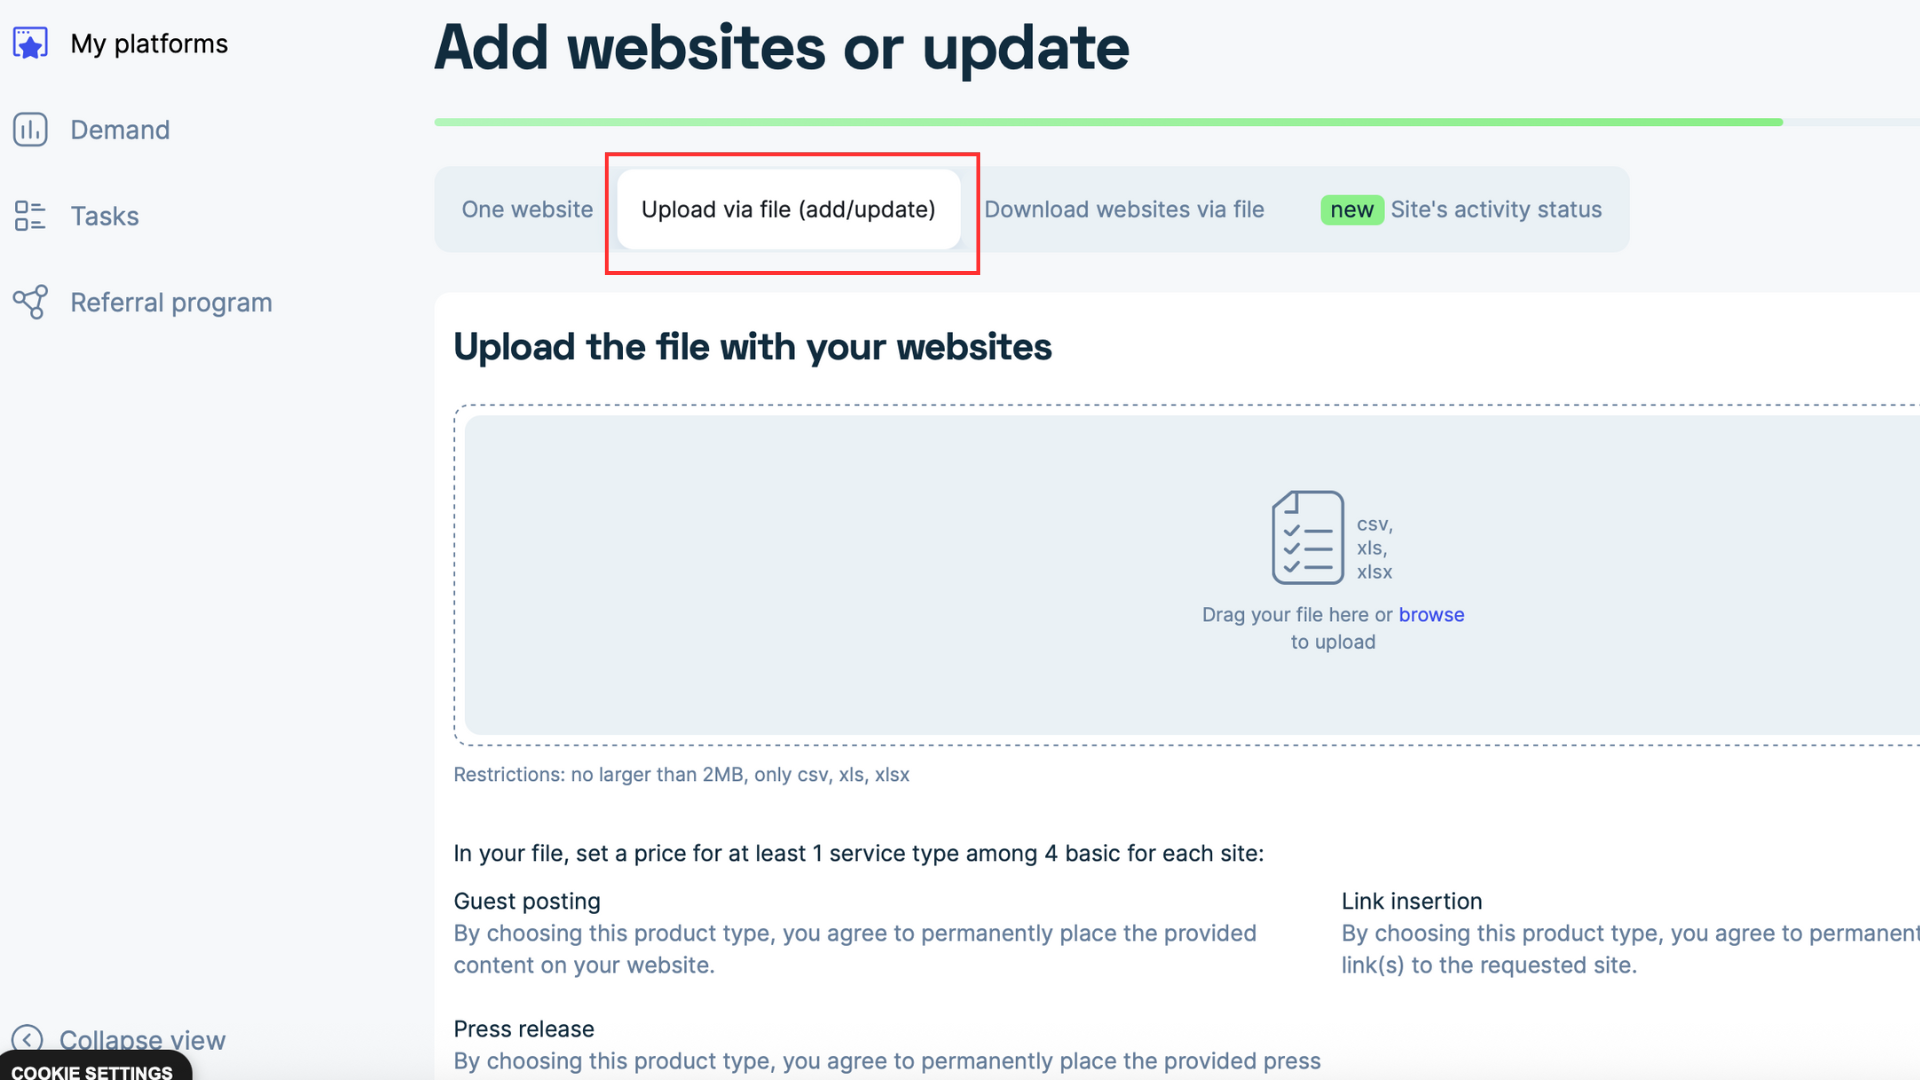
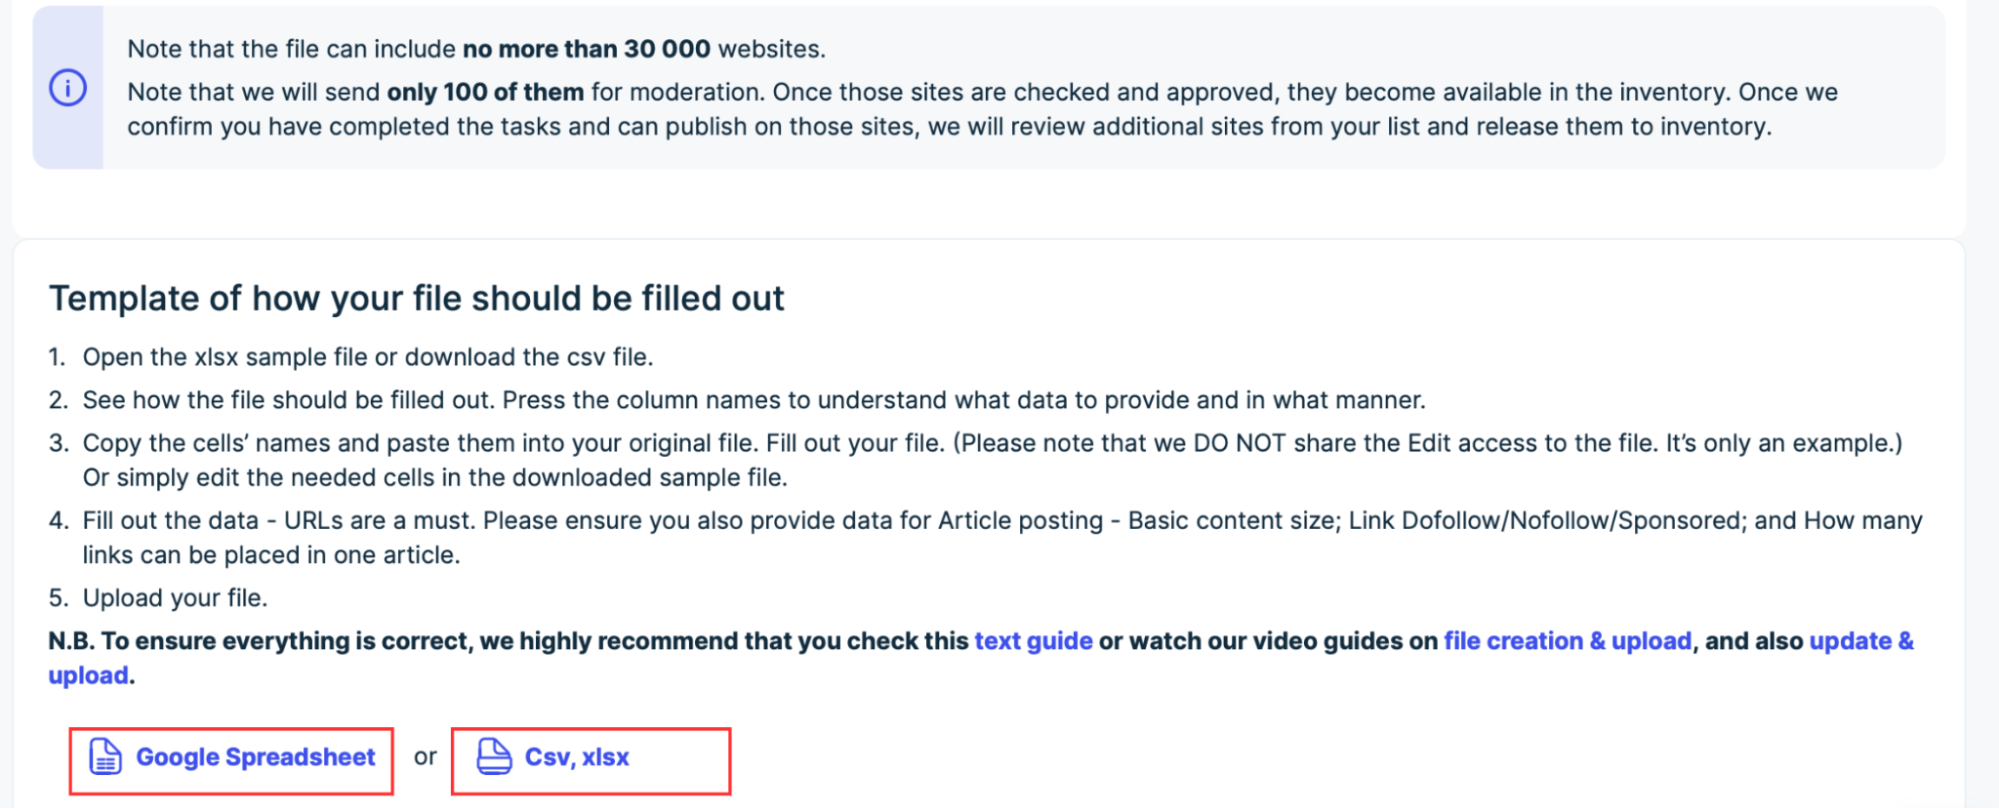
Step 2: Open the template
Scroll down to the “Template of how your file should be filled out” block.
Click a Google Spreadsheet to view online or CSV/XLSX to download a sample file.
Step 3: Check the examples
For example, you choose the Google Spreadsheet option. The table with an example will open in a new window.
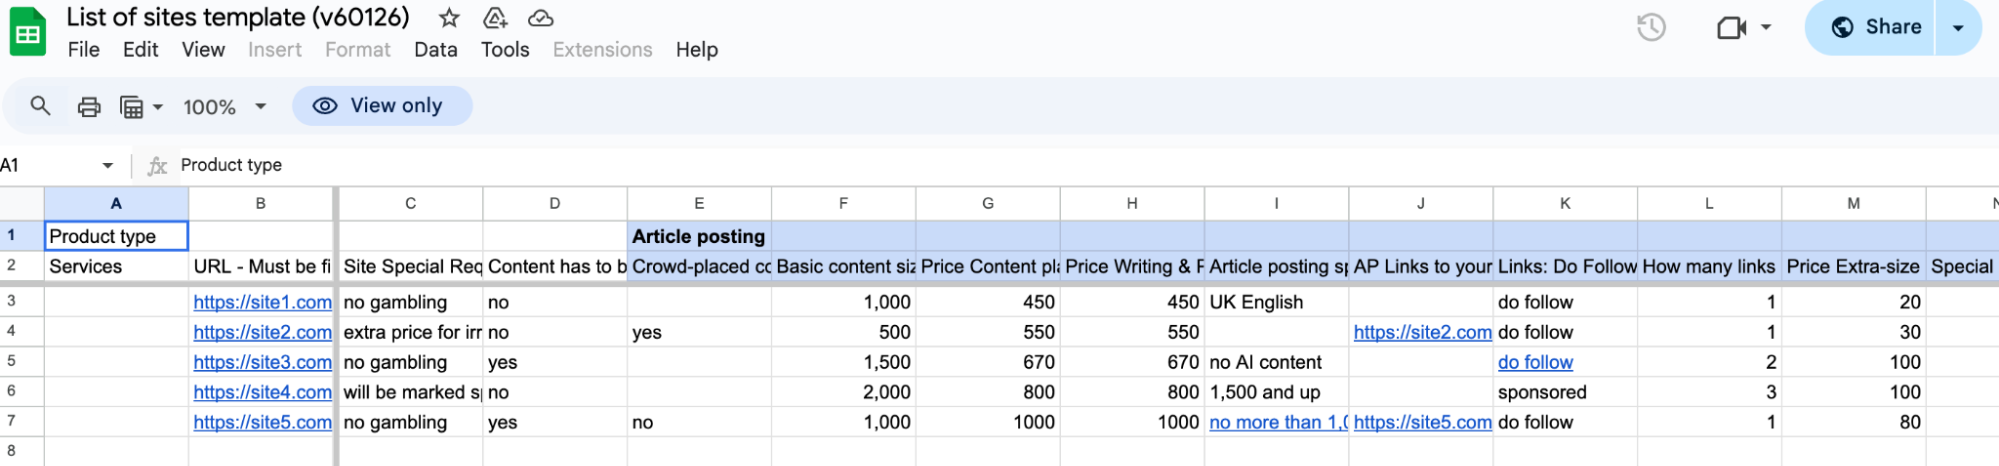
Scroll to the left up to the Press Release product and check the example rows to see how the data should look.
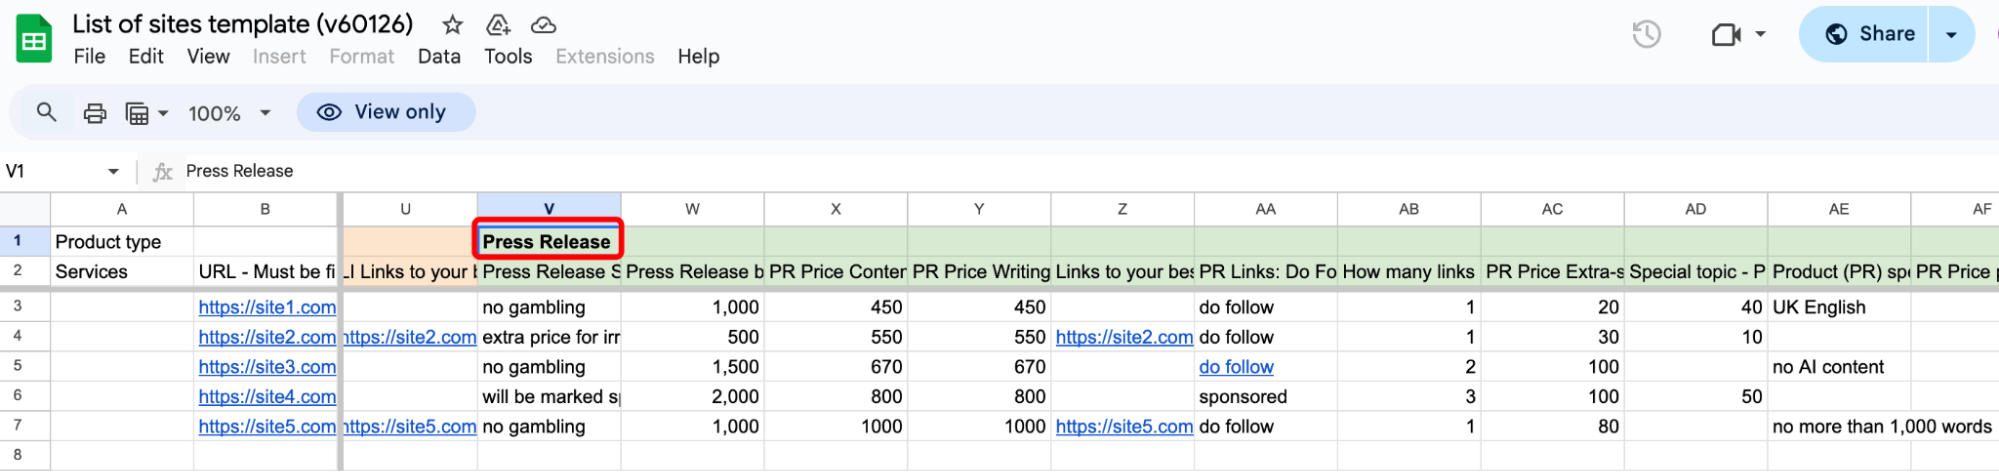
Step 4: Fill in your data
Copy and add the new cells to your existing table with sites. Fill in the data only for those sites where the Press Release product will be available.
Important: Please do not change the cell names. They must match the original data from the example file.
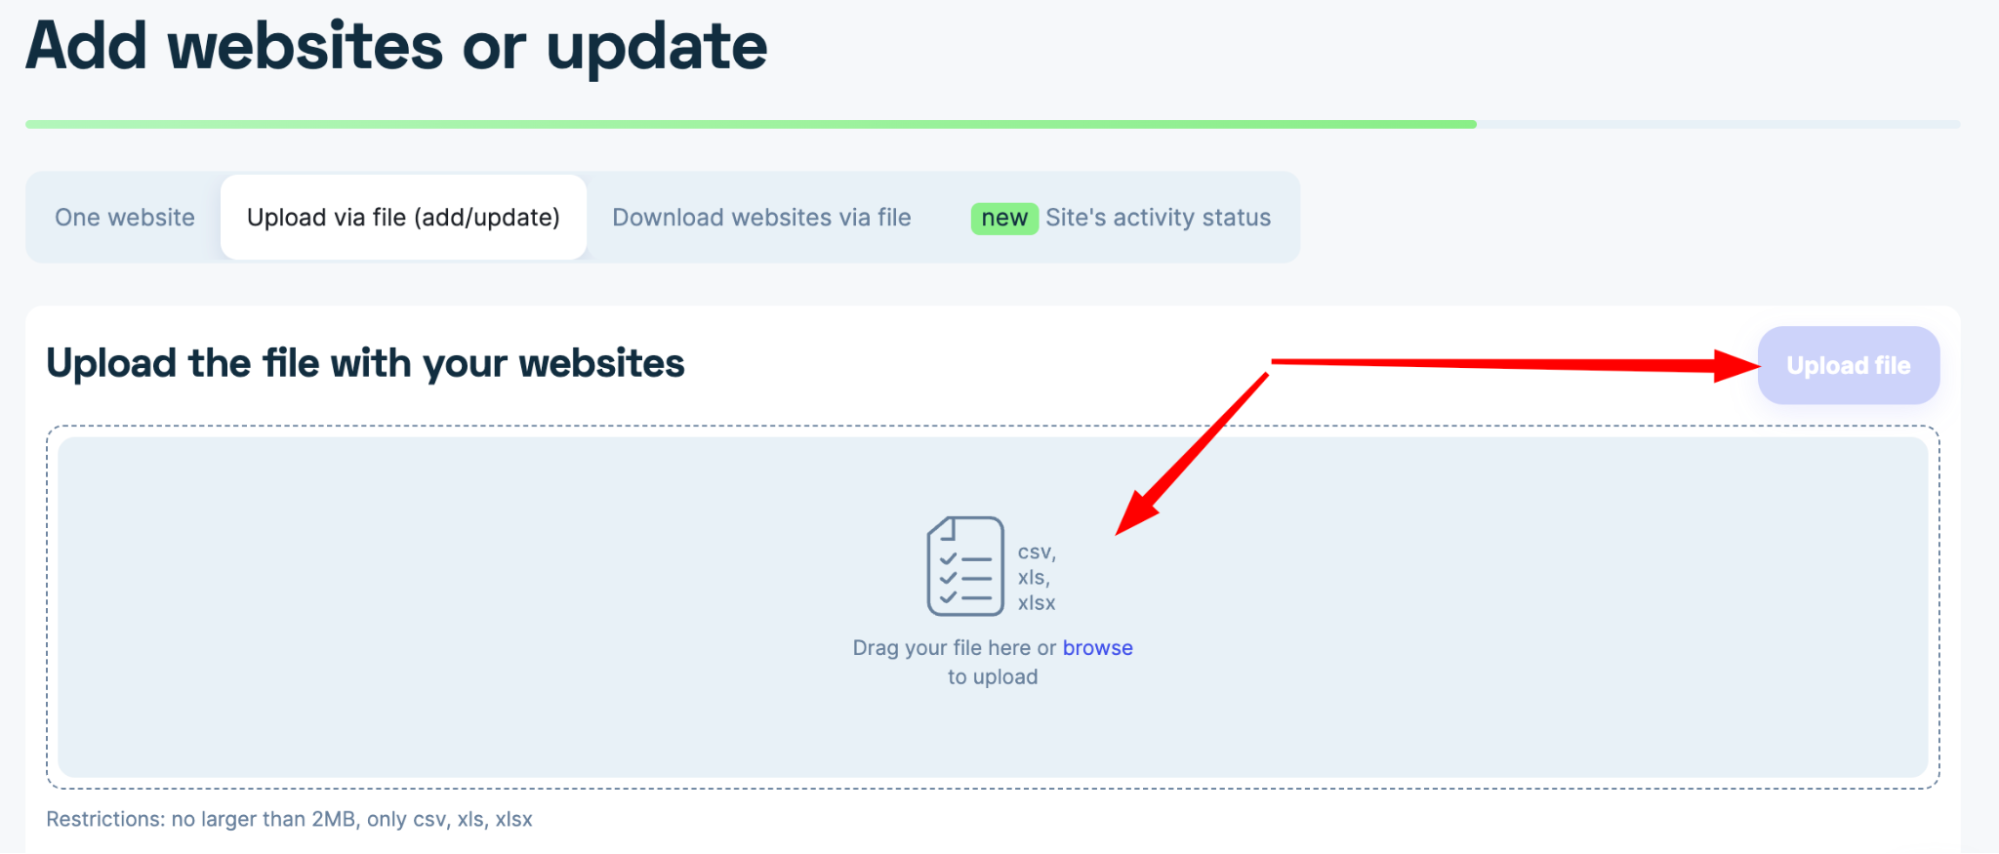
Step 5: Upload the updated file
After filling out all the data, upload the file. Wait until the system processes it and adds the Press Release product to the selected sites.
Pro tip: Using the file upload is ideal if you manage multiple + sites. It ensures consistency and saves a lot of time compared to editing each site manually.
3. Adding a Press Release to a new site
3. Adding a Press Release to a new site
If you’re adding a brand new site and want Press Release to be available there:
Step 1: Add the new website
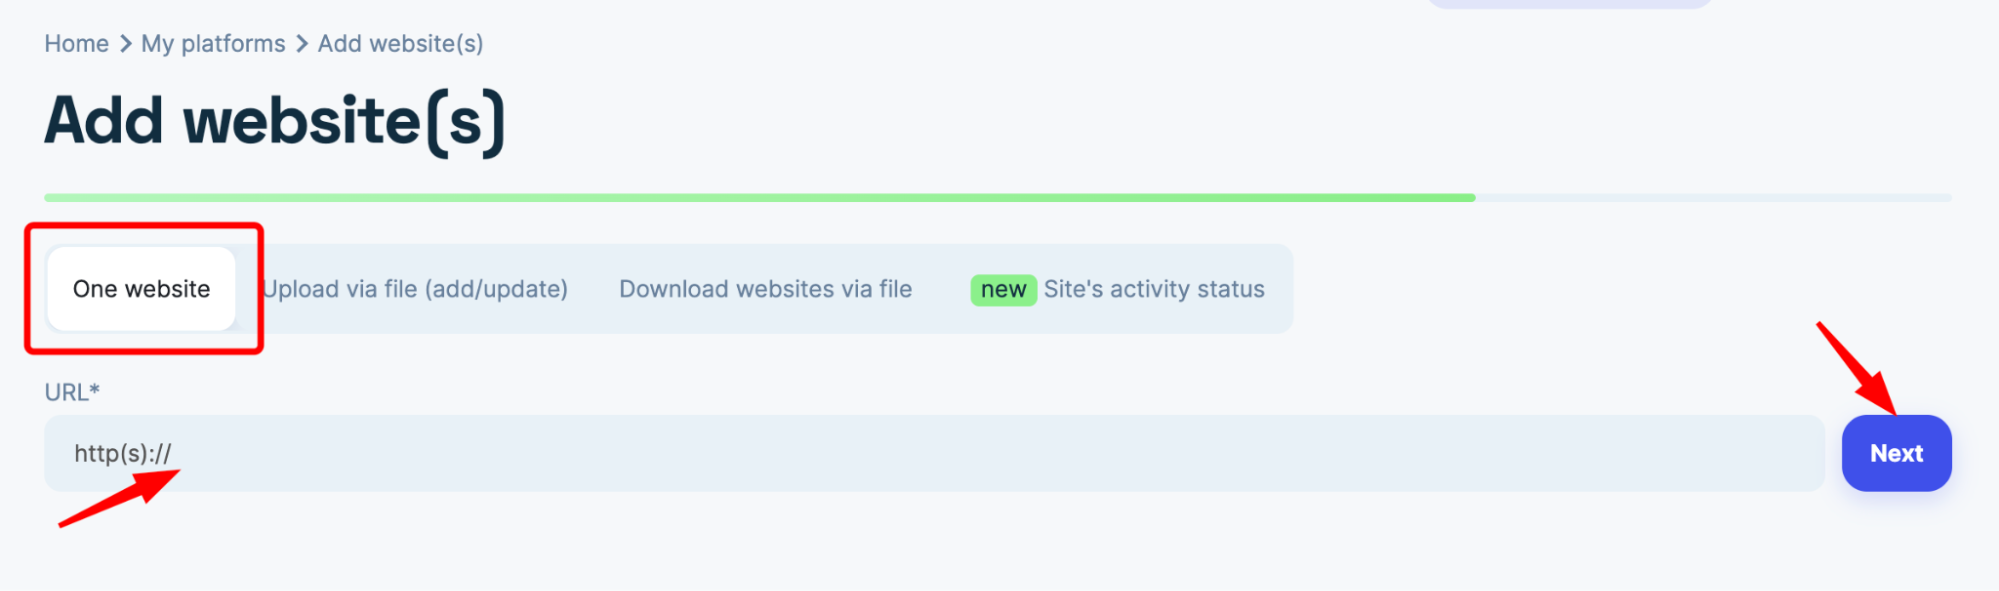
Go to the Add or update websites button in your platform.

Agree to the Terms and choose the “One site” option. Paste or type your site’s URL and click the “Next” button.
Step 2: Fill out basic information
Enter the URL, site name, and any other required fields.
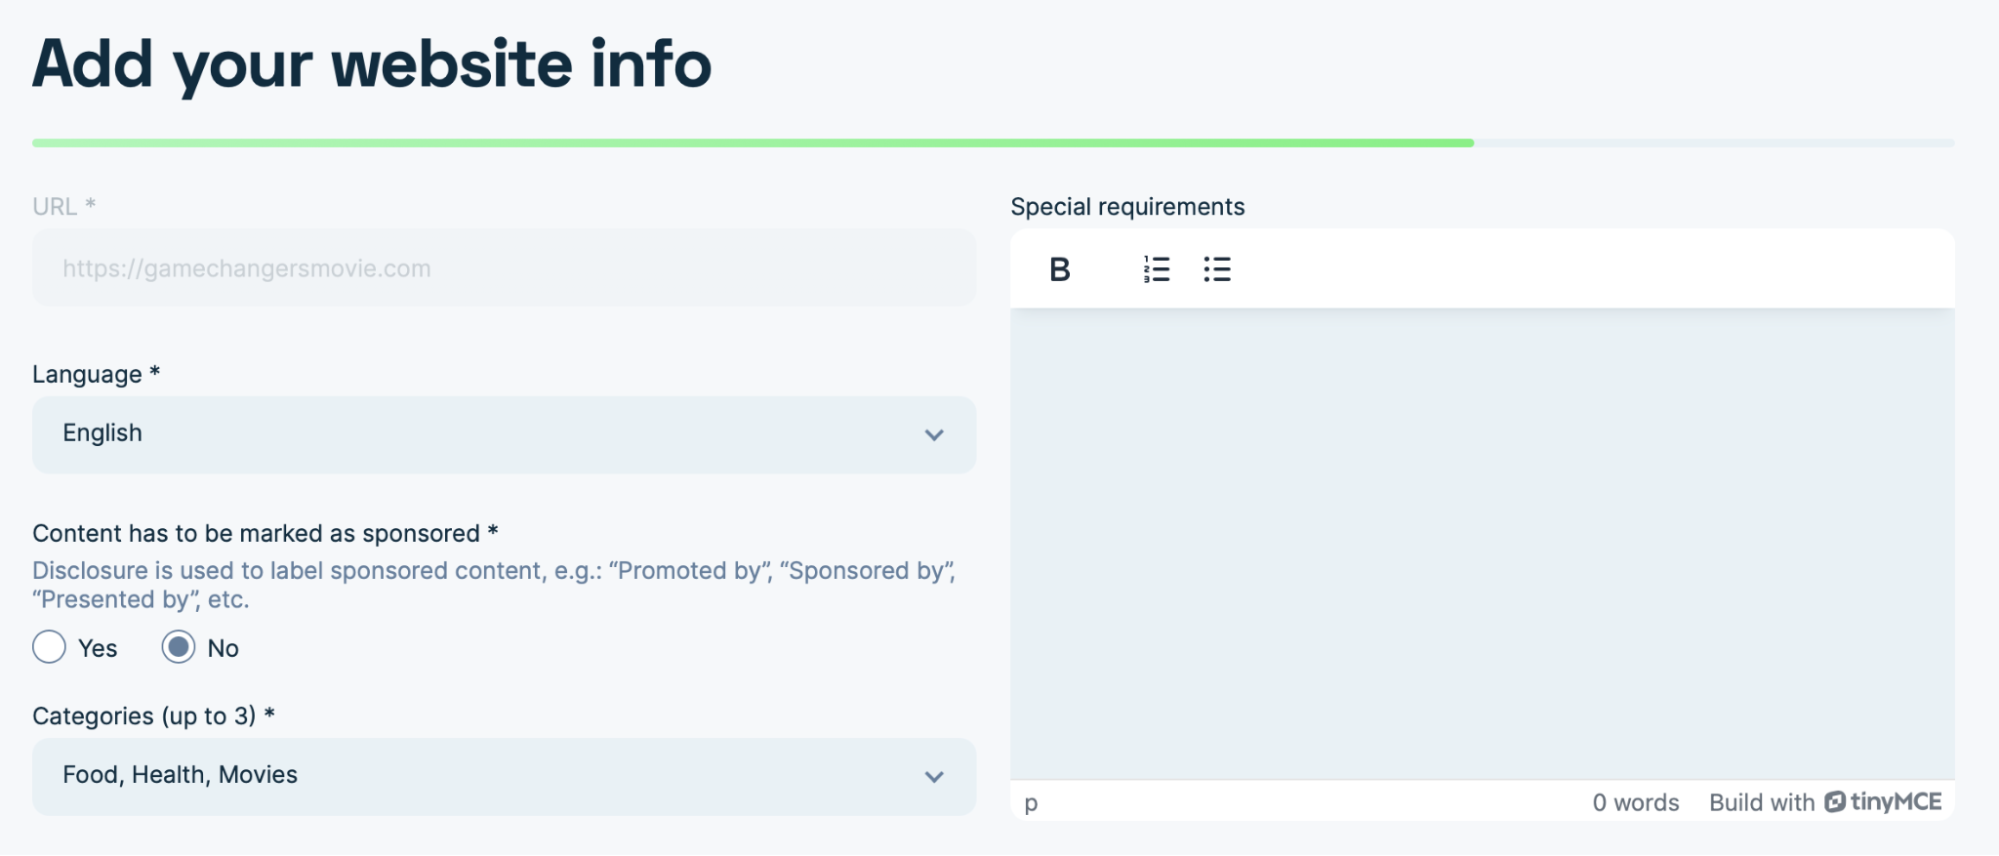
Step 3: Enable Press Release
During the setup process, make sure to select Press Release as one of the available products for this site.

Step 4: Complete the Setup
Fill in any additional required information for the new site.
Step 5: Save and Confirm
Сlick on the “Next” button, go through the moderation process and site contributor, if you wish, and go next. That is it. Press Release is now available on your new site!
That’s it! Now you know how to add the new Press Release product to your sites.
Conclusion
As always, make sure that the websites you choose allow this type of content before adding it. Adding a Press Release gives you a simple way to expand your offerings, provide more value, and keep your sites up to date with the latest content options.
All trademarks, logos, images, and materials are the property of their respective rights holders.
They are used solely for informational, analytical, and review purposes in accordance with applicable copyright law.